

A developer working in a modern workspace with abstract cues of API traffic control on a monitor. AI-generated editorial image.
When an API starts receiving more traffic than it can comfortably handle, the problem is not only performance. It is also fairness, stability, and cost control. API rate limiting helps you set predictable boundaries so one client, user, or integration does not consume all available capacity.
The goal is not to punish legitimate usage. It is to make service behavior understandable under load. A good rate limit tells clients what to expect, gives developers a clear failure mode, and protects the rest of the system from a noisy neighbor or accidental loop.
What API rate limiting is trying to solve
Rate limiting controls how many requests a caller may make in a defined period. That period might be per second, per minute, or another window that fits your workload. The exact policy depends on your product, but the underlying reasons are common:
- prevent accidental bursts from overwhelming a database or downstream service
- reduce the impact of abuse, scraping, or brute-force behavior
- preserve predictable service for other users
- create room for premium or internal traffic policies when needed
Rate limiting is different from authentication. Authentication answers who are you. Rate limiting answers how much can you do right now. Both are needed, but they solve different problems.
Choose a limit strategy before you write code
There is no single best algorithm. The right choice depends on how strict the limit must be and how smooth you want the user experience to feel.
Fixed window
This is the simplest model: allow a certain number of requests per time window. For example, a caller might be allowed 100 requests per minute. It is easy to understand and easy to implement, but it can create edge bursts when one window ends and the next begins.
Sliding window
A sliding window counts requests over a moving time range. It is often fairer than a fixed window because it smooths out boundary spikes, but it is more complex to implement and may require more storage or processing.
Token bucket
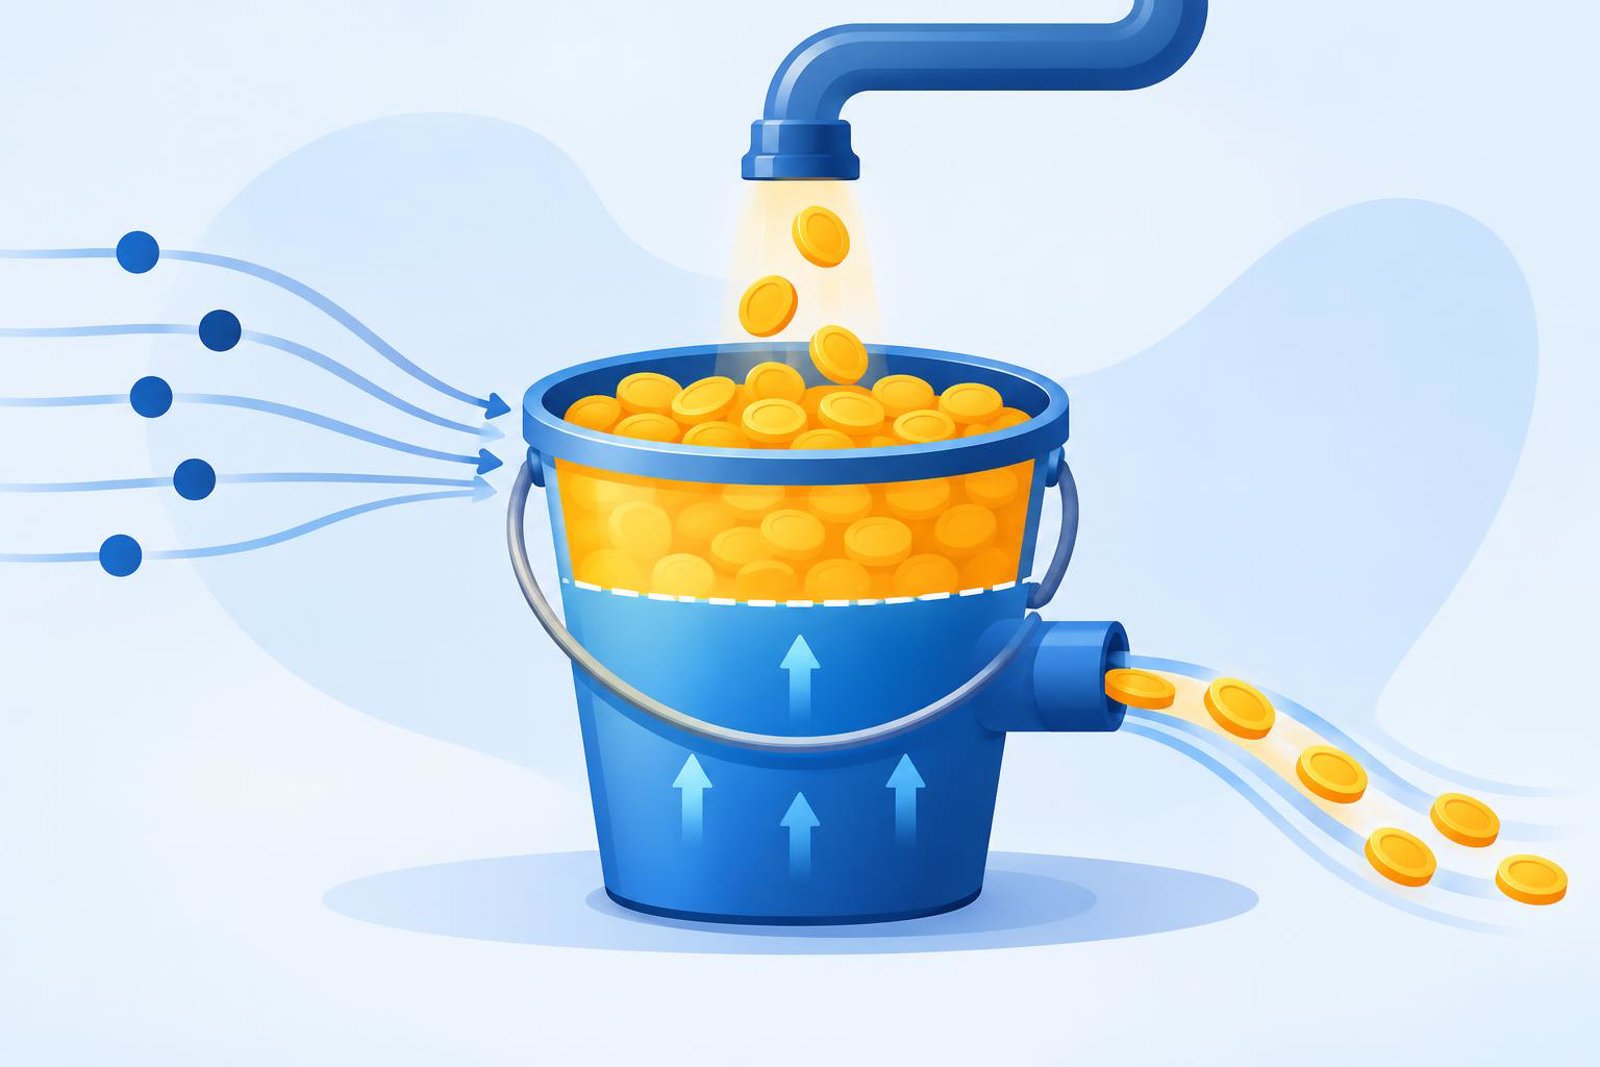
Token bucket is common when you want a burst-friendly system with a steady average rate. Tokens accumulate over time up to a maximum. Each request consumes one token. This is a useful fit when brief bursts are acceptable but sustained overload is not.
Leaky bucket
The leaky bucket model smooths traffic by processing requests at a constant rate. It can work well when downstream systems prefer steady input, but it may feel less flexible to callers who legitimately burst for short periods.
If you are unsure, token bucket is often a practical starting point for public APIs because it balances fairness and usability. That said, the best option depends on what you need to protect and how tolerant clients are of bursts.
A simple implementation approach in ASP.NET Core
In ASP.NET Core, a rate limiter can be placed early in the request pipeline so that expensive work is avoided when a request is already over quota. The example below shows the shape of a token bucket policy using the built-in rate limiting middleware pattern. Treat it as illustrative configuration, not a drop-in production template.

using System.Threading.RateLimiting;

var builder = WebApplication.CreateBuilder(args);

builder.Services.AddRateLimiter(options =>
{
    options.AddTokenBucketLimiter("api", limiterOptions =>
    {
        limiterOptions.TokenLimit = 100;
        limiterOptions.TokensPerPeriod = 20;
        limiterOptions.ReplenishmentPeriod = TimeSpan.FromSeconds(1);
        limiterOptions.QueueLimit = 0;
        limiterOptions.AutoReplenishment = true;
    });
});

var app = builder.Build();

app.UseRateLimiter();

app.MapGet("/api/data", () => Results.Ok(new { message = "ok" }))
   .RequireRateLimiting("api");

app.Run();
This example shows the main moving parts:
- TokenLimit sets the burst ceiling.
- TokensPerPeriod and ReplenishmentPeriod determine the average allowed rate.
- QueueLimit controls whether excess requests wait or fail immediately.
If your application serves interactive users, a small queue can improve perceived responsiveness. If it serves machine clients or you need predictable rejection under load, failing fast is often easier to reason about.
Where to apply limits and what to key on
Not every endpoint should share the same limit. Login endpoints, expensive search endpoints, file uploads, and public read endpoints often need different policies. A single global limit is simpler, but it can produce poor results when one hot path dominates traffic.
Common ways to key a rate limit include:
- Per IP address for anonymous traffic, with care for proxies and shared networks
- Per authenticated user when identity is reliable
- Per API key or client ID for partner or integration traffic
- Per route when specific operations are costly
Be careful with IP-based limits behind load balancers or reverse proxies. If the application does not know the original client address correctly, it may treat many users as one or fail to distinguish them properly. Use the request metadata your hosting setup actually provides, and make sure the trust boundary is configured intentionally.
Design the failure response, not just the limit
A rate limit is only useful if callers can respond to it. A good failure mode is explicit and consistent. Common practice is to return a 429 status code when the caller has exceeded the allowed rate. You may also include headers that help clients understand when they can retry, depending on your API design.
A useful limit is one that clients can predict and handle gracefully. A mysterious timeout is usually harder to diagnose than an explicit rejection.
Make sure your error payload is stable and human-readable. For example, a response might explain that the request rate was too high and suggest retrying later. Do not expose internal counters or implementation details unless they are intentionally part of the public contract.
Verification checklist and common mistakes
After implementing rate limiting, verify behavior in normal and edge cases. You are looking for predictable responses, not just the absence of exceptions.
- Confirm that a single caller can reach the configured limit and then receives the expected rejection.
- Check that the limit resets or replenishes according to the chosen policy.
- Test a burst of requests to see whether queued requests wait or fail as intended.
- Verify that different endpoints can use different policies if you configured them that way.
- Check how the application behaves behind your proxy or load balancer.
Common mistakes include setting the limit too low, forgetting to separate expensive endpoints, and relying on IP-based enforcement without understanding your network path. Another frequent issue is applying the limiter too late in the pipeline, after work has already been done.
Rate limiting is also not a substitute for caching, query optimization, or abuse detection. It is one layer of control. If a request is expensive, it is still worth making the request cheaper where possible.
For teams building an API or integrating one into a product, a clear rate limit policy can prevent a lot of avoidable friction later. If you need a broader review of how your service should expose and protect endpoints, the web, app & software development services page is a useful place to see Octobytes' published areas of work.
Next step: pick one high-traffic endpoint, decide what it should protect, and write down the limit key, window, rejection response, and retry behavior before you implement it.